Make Easy Caramelized Almonds to Elevate Any Salad
Transforming an everyday salad into a culinary masterpiece doesn't require a Michelin-star chef or exotic ingredients. Often, the secret lies in a simple, homemade addition that offers a delightful contrast in texture and flavor. Enter caramelized almonds – a surprisingly easy-to-make topping that delivers a glorious crunch and a whisper of sweetness, instantly elevating any bowl of greens. If you've ever savored a restaurant salad and wondered what made it so special, chances are a handful of these glistening, nutty gems played a starring role. Mastering how to caramelize almonds recipe is a skill that will not only impress your dinner guests but also bring a new dimension to your weeknight meals.
Forget bland, store-bought salad toppers that often disappoint in both taste and cost. Homemade caramelized almonds are not only superior in flavor and texture but also incredibly economical. The process is quick, simple, and the aroma filling your kitchen will be an added bonus, making it seem like you’ve spent hours perfecting your dish. So, let’s dive into how you can create these irresistible morsels and add that gourmet touch to your salads.
The Magic Behind the Crunch: Why Caramelized Almonds Reign Supreme
What sets caramelized almonds apart from their plain counterparts? It's all about that perfect balance of textures and flavors. You get the natural earthiness of the almonds, intensified by toasting, combined with the delicate sweetness and irresistible crispness of caramelized sugar. This duality makes them an unparalleled addition to a variety of dishes, especially salads.
Consider a light, vibrant salad featuring fresh greens, juicy fruits like oranges or berries, and a tangy vinaigrette. The addition of caramelized almonds provides a crucial counterpoint – a satisfying crunch that prevents the salad from becoming texturally monotonous. They introduce a depth of flavor that complements both savory and sweet elements, making them particularly harmonious with fruit-based salads or those with a hint of cheese. That moment when you serve a salad and the first question is, "Where did you get these nuts?" will undoubtedly bring a smile to your face. They truly taste better than any pre-packaged option and cost significantly less to make at home.
Unlocking Perfection: Your Step-by-Step Caramelized Almonds Recipe
Making caramelized almonds is less about complex culinary skills and more about attention and a willingness to stir. With just a few basic ingredients and a hot skillet, you'll be well on your way to creating these addictive treats. Here’s a detailed guide on how to caramelize almonds recipe for success:
Ingredients You'll Need:
- 1 cup (approximately 100-120g) sliced or slivered almonds (raw)
- 1 tablespoon unsalted butter
- 2-3 tablespoons granulated sugar (adjust to your sweetness preference)
- A pinch of fine sea salt (optional, but highly recommended to balance the sweetness)
Equipment:
- Large, heavy-bottomed skillet (non-stick or cast iron works best)
- Parchment paper or a silicone baking mat
- Two forks for separating
The Process:
- Prepare Your Workspace: Before you even turn on the heat, lay out a piece of parchment paper or a silicone mat on your counter. Once the almonds are ready, they'll need to be spread out immediately, and you won't have time to scramble for supplies.
- Melt the Butter: Place your large skillet over medium-high heat. Add the butter and allow it to melt completely. Watch for it to just begin foaming – this indicates it’s ready.
- Toast the Almonds: Add the almonds to the melted butter. Stir constantly with a spatula or wooden spoon to ensure they are thoroughly coated. Continue stirring for about 2-4 minutes, or until the almonds start to smell fragrant and develop a light golden-brown hue. This toasting step is crucial for enhancing their nutty flavor.
- Add the Sugar: Once the almonds are lightly toasted and hot, sprinkle the granulated sugar evenly over them. Add the pinch of salt if using.
- Caramelize and Stir Constantly: This is the most critical step. Continue to stir the almonds constantly and vigorously. The sugar will first appear grainy, then begin to melt, forming a syrupy coating around the almonds. It’s imperative to keep them moving to prevent the sugar from burning and sticking to the pan. This process usually takes only 2-3 minutes. The goal is a beautiful golden-brown caramel coating, not a dark, burnt sugar.
- Remove from Heat: As soon as the sugar has completely melted and coated the almonds evenly, turning a lovely amber color, immediately remove the skillet from the heat. The residual heat in the pan can quickly scorch the sugar.
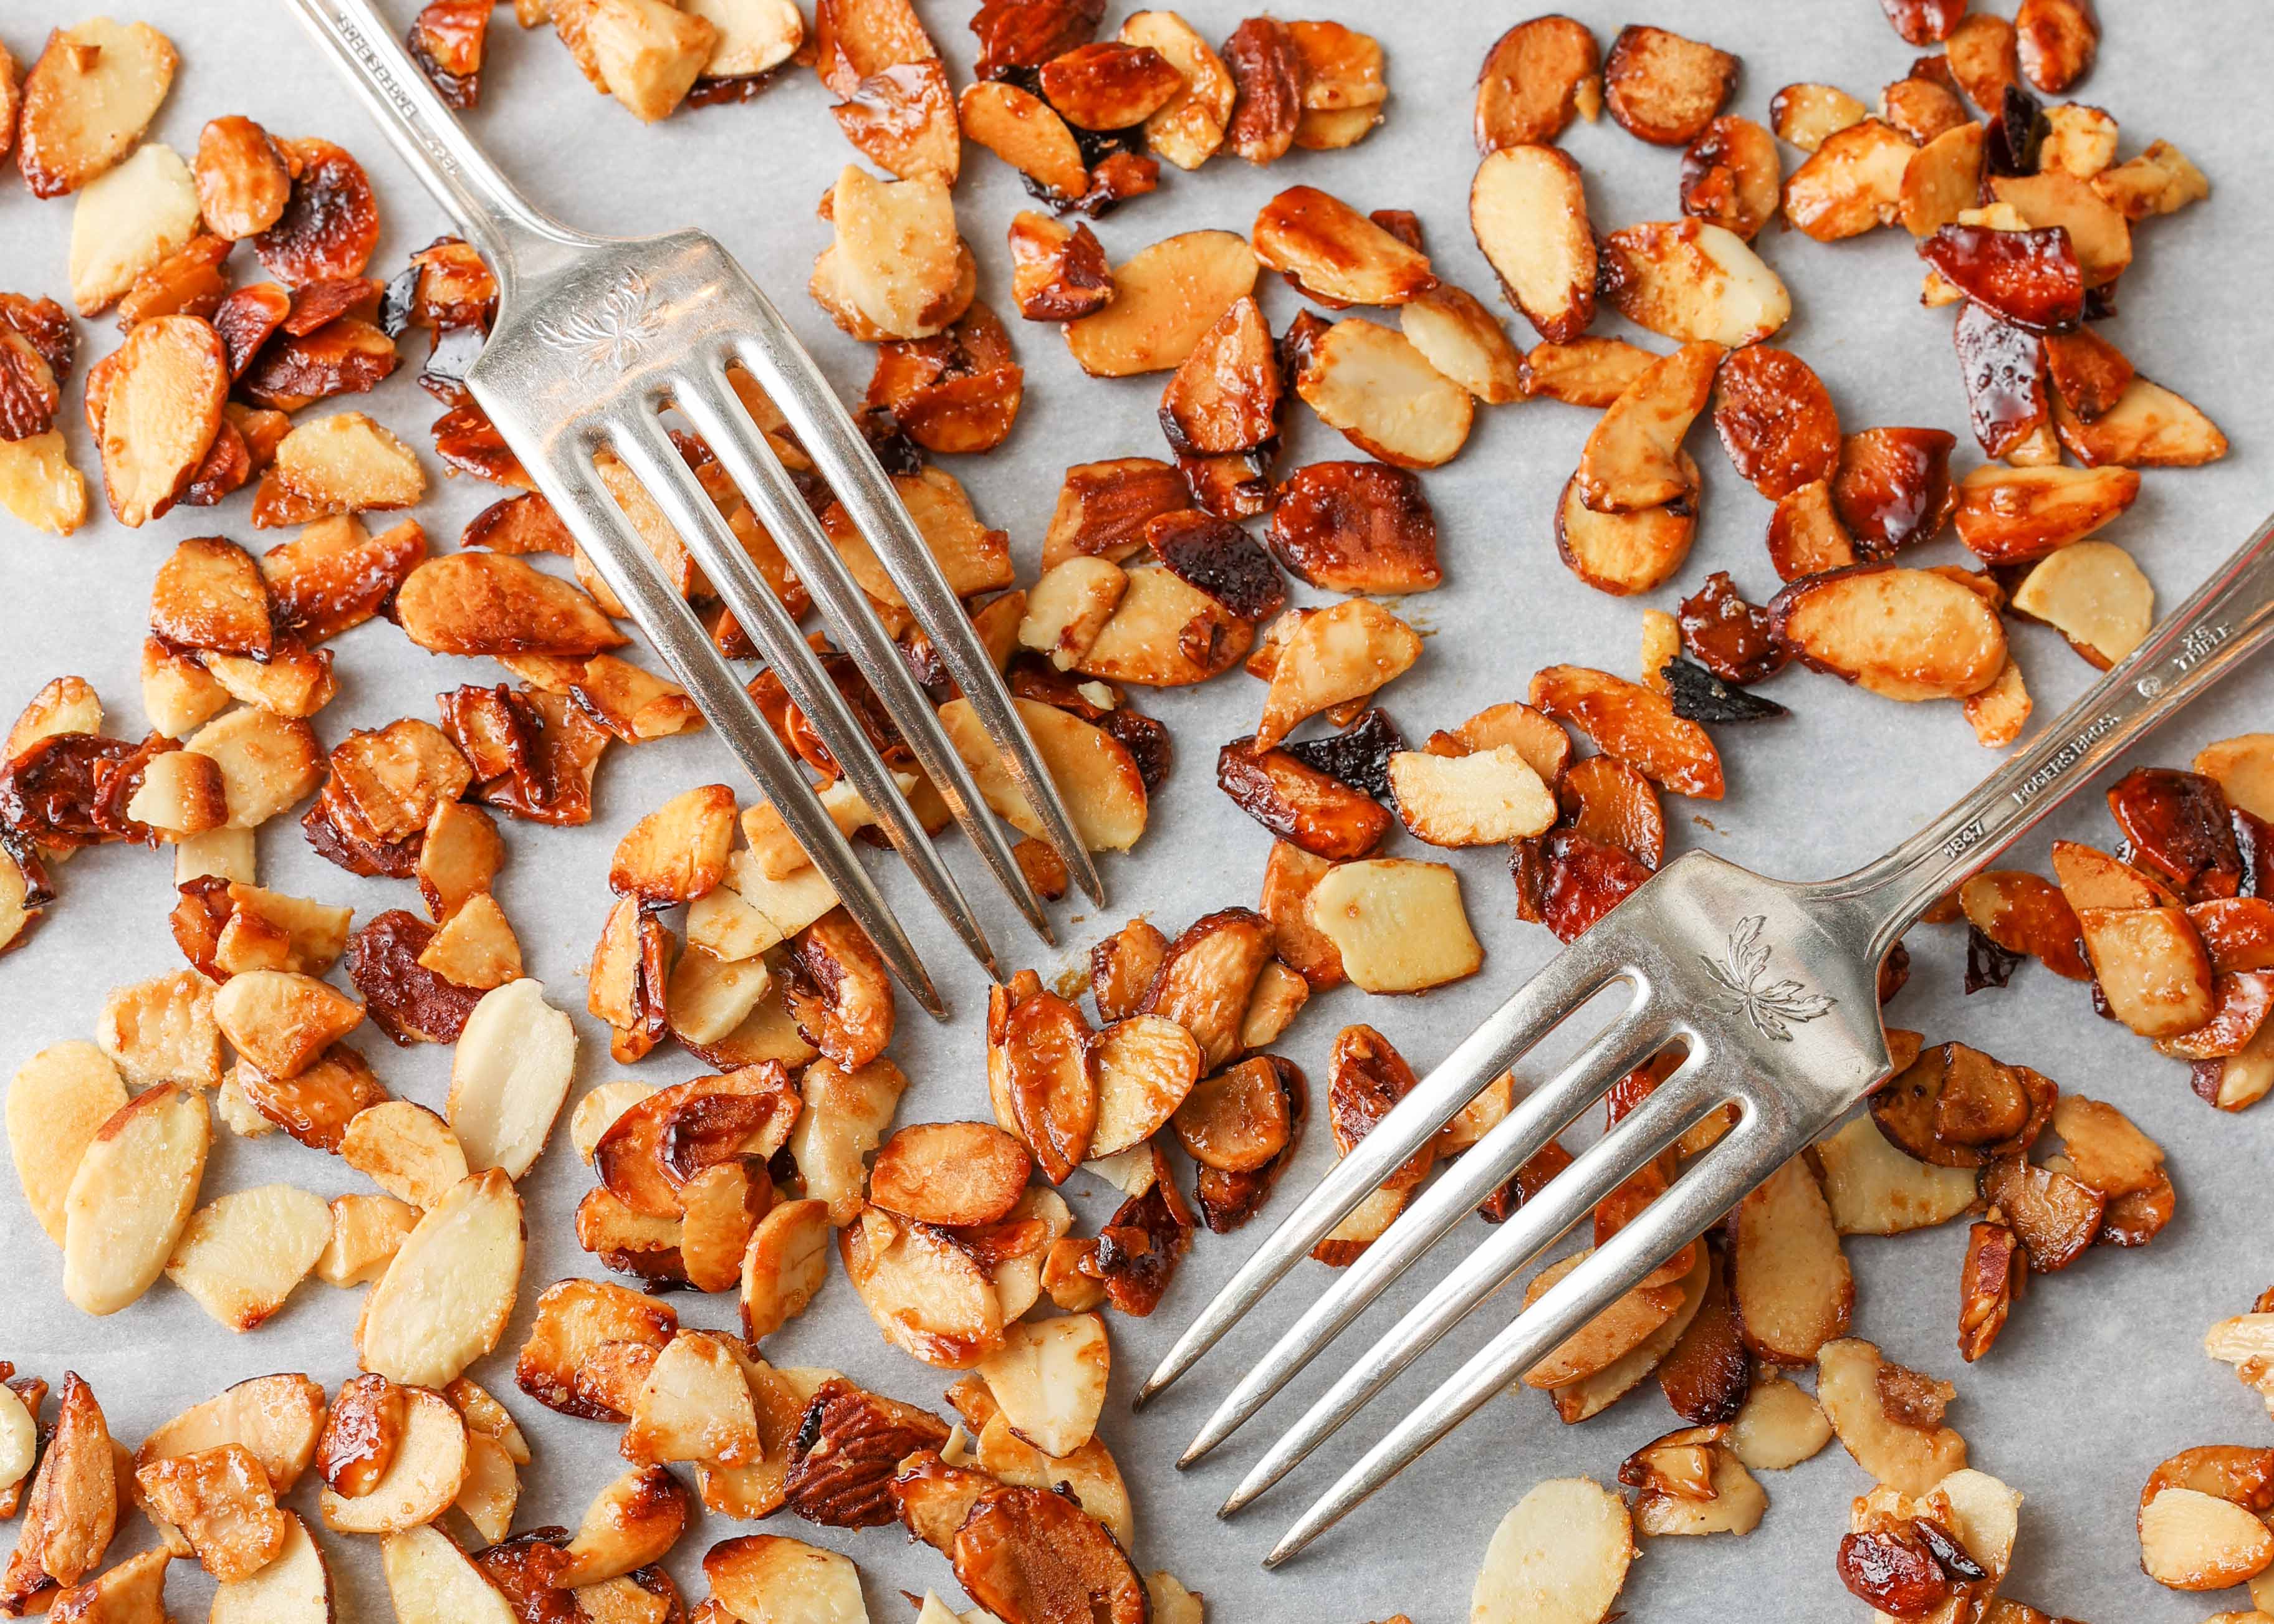
- Spread and Separate: Promptly pour the hot caramelized almonds onto your prepared parchment paper or silicone mat. Using two forks, carefully separate the almonds to prevent them from clumping together as they cool. Be gentle, as they will be extremely hot and sticky.
- Cool Completely: Allow the almonds to cool undisturbed for at least 15-20 minutes. As they cool, the caramel will harden, and the almonds will become wonderfully crisp.
Pro Tips for the Perfect Batch and Advanced Techniques
While the basic recipe is straightforward, a few insider tips can elevate your caramelized almonds from great to truly exceptional:
- The Soaking Secret: For an unbelievably crisp texture and more even browning, consider soaking your almonds before caramelizing. Submerge them in room-temperature water for 4-8 hours (or overnight in the fridge). After soaking, pat them thoroughly dry with a clean towel. Any residual moisture will cause them to steam instead of toast. This technique not only improves texture but may also aid in digestibility by breaking down enzyme inhibitors.
- Don't Rush the Toasting: While the caramelizing step is quick, don't skimp on the initial toasting in butter. This is where the almonds develop their deep, nutty flavor, which will shine through the sweetness.
- Heat Control is Key: Medium-high heat is generally good, but if you notice the sugar melting too quickly and threatening to burn before coating the almonds, reduce the heat slightly. Conversely, if it's taking too long, a small bump in heat can help. Always err on the side of slightly lower heat and constant stirring.
- Flavor Variations: Feel free to experiment! A sprinkle of cinnamon, a dash of vanilla extract (added just before removing from heat), or even a tiny pinch of cayenne pepper can add intriguing layers of flavor.
- Storage Savvy: Once completely cool, store your caramelized almonds in an airtight container at room temperature for up to two weeks. For longer storage, they freeze beautifully for several months. This makes them perfect for meal prepping and always having a gourmet topping on hand.
Beyond the Salad Bowl: Creative Uses for Caramelized Almonds
While an exceptional salad topping, the versatility of caramelized almonds extends far beyond greens. Get creative and explore these other delightful uses:
- Breakfast Booster: Sprinkle them over oatmeal, yogurt, granola, or even pancakes for an added crunch and sweetness.
- Dessert Dynamo: Use them as a garnish for ice cream sundaes, puddings, fruit tarts, or chocolate mousse. They add a sophisticated texture to any sweet treat.
- Snack Attack: Keep a small bowl handy for a quick, satisfying snack. They're surprisingly addictive on their own!
- Cheese Board Companion: Offer them alongside soft cheeses, honey, and crackers for an elevated appetizer spread.
Conclusion
There you have it – a comprehensive guide on how to caramelize almonds recipe that promises to revolutionize your salads and beyond. This simple technique, requiring minimal ingredients and time, transforms ordinary nuts into extraordinary, gourmet morsels. The satisfying crunch, the hint of sweet caramel, and the rich nutty flavor all combine to create a topping that truly elevates any dish. So, ditch the expensive store-bought versions and treat yourself to the superior taste and immense satisfaction of homemade caramelized almonds. Your salads, and your taste buds, will thank you!
